Setting up Github Pages with Jekyll
This is a quick summary to build Github Pages with Jekyll Theme on Windows
1. RubyInstaller
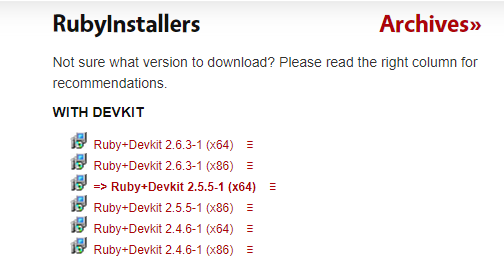
1-1. If you don´t have Ruby installed, install Ruby with Development Kit
https://rubyinstaller.org/downloads
1-2. Install MSYS2 following instructions for Ruby Installer
1-3. Check the version of Ruby after installation on Ruby Command Prompt
C:\>ruby -v2. Install Jekyll
You can install Jekyll using gem since Ruby is installed
On Ruby Command Prompt,
$ gem install jekyll bundler
$ jekyll -v
3. Adding a Jekyll theme to your GitHub Pages
There are many ways to add a Jekyll theme to your repository. In my case, I downloaded Jekyll theme(Clean-Blog) and copied it to my repository.
3-1. Create Jekyll on local directory
$ jekyll new [GithubUsername].github.ioEnter the directory you have just made.
$ cd [GithubUsername]There are few more steps left, but publish the blog locally to see if it works well.
$ bundle exec jekyll serveThe site should be up and running on local host:
3-2. Download or Clone a Jekyll Theme.
3-3. Copied files to your repository.
3-4. Edit _config.yml. For example,
baseurl:
url:   "https://hskim2019.github.io"